

I've seen a lot of projects on Pinterest that ive thought to myself "I can TOTALLY do that" and others ive steered clear of knowing I could never pull it off.
When I saw this on Pinterest- my first reaction was "Easy. Done. Where is my paint brush and stencil?" but I have to warn you....
This project is not for the weak at heart.
It takes patience...A good leveler....and a husband who will tell you when its crooked after already spending 2 hours painting the design. (But thats a whole other story.)
I found this stencil from CuttingEdgeStencils on Etsy. And I highly recommend them if you want to take on this task. They provide you not only with ballin' stencil designs, but brushes and stencil levelers as well to make the whole process a lot smoother!

{Picture of the study before the stenciling began! The room is painted grey and I planned on doing the stencil in a semi-gloss grey which is a shade lighter then the base coat. It gives it a nice sheen with still keeping the pattern noticeable.}

{You will want to purchase some paint tape as well for sticking up your stencil. It doesn't pull the existing paint of and holds it in place very well! I also recommending starting in the middle and working your way out when placing your stencil on the wall. Those tight corners can get tricky and take more time to work on.}


{For a project like this-Its good to purchase a dense foam roller since you wont be pressing very hard with rolling the paint on. (Cutting Edge Stencils also provides this to purchase as well) Pressing too hard results in "bleeds" on the sides of the cut outs leaving you with a no fun splotched edge. I always started out pressing with a medium pressure and it worked great!}

{Once you have your first section painted on, you simply move the stencil down, line it up, and start painting again! The great thing about this process is that the paint dries really quick so there is hardly any wait time needed when going from section to section. TIP: CuttingEdgeStencil has "stencil levelers" for sale but I recommend taking your own leveler and leveling from the design itself...Not the plastic around it-as sometimes the design might not be cut straight on the plastic making for an uneven paint job. I say this from experience *smile*}


{Sometimes its fun to have a little moral support while you're working! Even from a furry friend!}


{Remember earlier when I mentioned my husband telling me that my paint job was crooked at first? This is what happens when you have a perfectionist watching your every move! TIP: Sometimes you might need another set of hands to help you line up the design or you might end up looking like my hubby on the right! Ha! He was such a big help and I definitely would have completed the project without his encouragement!}

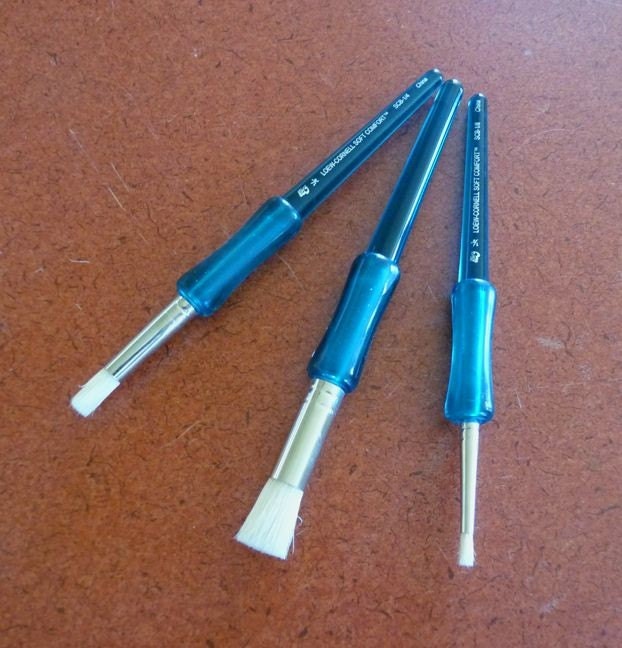
{Almost done! The top was the most tricky since you're standing super high on a ladder and still trying to line everything up to perfection. I recommend purchasing a stencil brush to get those tight corners sharp and crisp like the ones below! (CuttingEdgeStencils also provides these for purchase as well!}

{TADA!!! All done! Not the best picture considering the glare but done nonetheless!}
This project took me about a week and half of working on it here and there and all but two melt downs (But you have to remember-ive never done anything like this before so it quite the challenge for me and hitting road bumps along the way was just apart of the learning process!)
It's a finished project that im super proud of! Now to just get started on decorating the rest of the room! EEK!
What fun and challenging DIY projects have you worked on lately?

looks fantasticcccc! When are you coming to my house to do mine?
ReplyDelete